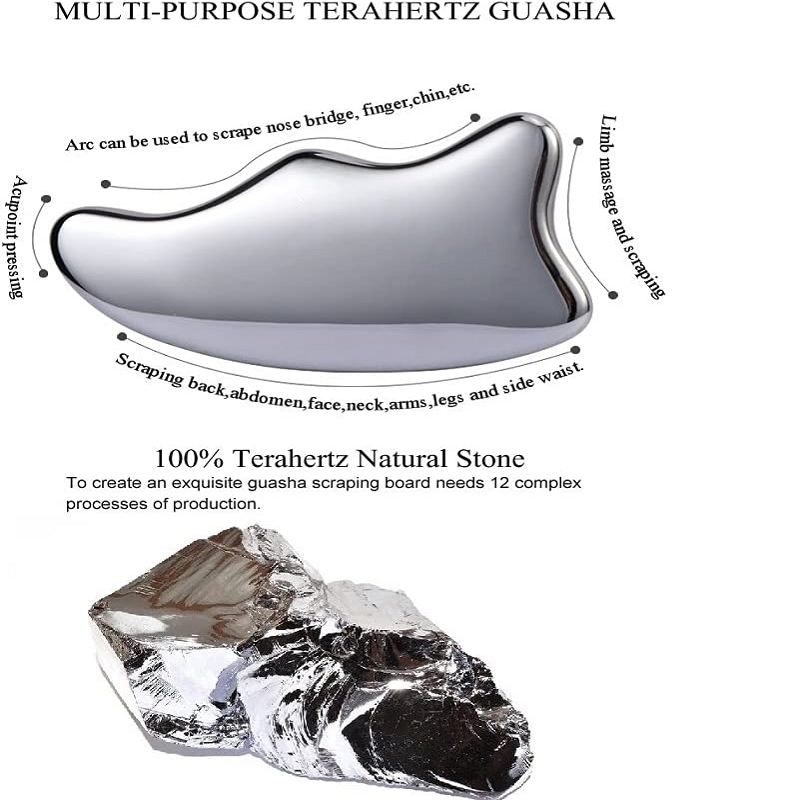
Gua Sha for Face How to Use

Terahertz Gua Sha for Face: The Ultimate Guide for Glowing Skin
Alright, let’s get real—your face deserves the best, and if you’re not using a Terahertz Gua Sha yet, you’re missing out on some serious skin magic. Forget those basic jade or rose quartz tools—terahertz is the next-level upgrade that’s blowing up on TikTok, Instagram, and everywhere else.
But how do you actually use it the right way? Because let’s be honest, just rubbing a stone on your face won’t do much if you’re not doing it properly.
So, here’s everything you need to know about using a Terahertz Gua Sha for your face—step by step, no fluff, just results.
Why Terahertz Gua Sha is Different (And Better!)
Before we get into the how, let’s talk about the why.
-
Regular Gua Sha = good for circulation, but limited.
-
Terahertz Gua Sha = same scraping benefits PLUS deeper energy waves that may help with:
-
Collagen stimulation (hello, plump skin!)
-
Faster healing (bye-bye redness and irritation)
-
Better absorption of skincare (your serums will work harder)
-
Basically, it’s like Gua Sha 2.0—stronger, faster, and way more effective.
How to Use Terahertz Gua Sha for Your Face (Step-by-Step)
Step 1: Prep Your Skin
You wouldn’t drive a Ferrari without gas, right? Same logic here.
-
Cleanse your face (no dirt, no clogged pores).
-
Apply a facial oil or serum (this helps the tool glide smoothly—no tugging!).
-
Best picks: Hyaluronic acid, rosehip oil, or squalane.
-
Step 2: Start with the Neck (Yes, Really!)
A lot of tension and puffiness starts here, so don’t skip it.
-
Hold the Gua Sha at a 15-30° angle.
-
Gently scrape upwards from the collarbone to the jawline (5-10 strokes per side).
-
Pro tip: If you feel crunchy spots (lymphatic buildup), go slower—it means you need it!
Step 3: Jawline & Chin (Bye, Double Chin!)
This is where sculpting happens.
-
Start at the chin, glide towards the ears (follow your jawline).
-
Use short, firm strokes—this helps with lymphatic drainage and tightening.
-
Repeat 5-10 times per side.
Step 4: Cheeks (For That Instant Lift)
Want higher cheekbones without filler? This is your move.
-
Start near the nose, sweep out towards the temples.
-
Use the curved side of the Gua Sha for better contouring.
-
Bonus: Helps with sinus pressure if you’re congested!
Step 5: Under-Eyes (No More Puffiness!)
Be extra gentle here—the skin is thin.
-
Start at the inner corner, glide outwards.
-
Light pressure only—no dragging!
-
Helps with dark circles by improving circulation.
Step 6: Forehead (Smooth Out Wrinkles)
Forehead lines? This helps relax them.
-
Start between the brows, move up to the hairline.
-
Use horizontal strokes for tension relief.
-
Great for stress headaches too!
Step 7: Brows (For an Eyebrow Lift!)
Yes, you can naturally lift your brows with this.
-
Glide from the inner brow to the tail.
-
Instant eye-opening effect—no Botox needed.
How Often Should You Do This?
-
Best results: Daily (takes 3-5 minutes).
-
For beginners: Start with 3x a week, then increase.
-
Morning vs. Night?
-
Morning = de-puffing, glow boost.
-
Night = relaxation, better product absorption.
-
Common Mistakes (Don’t Do These!)
❌ Pressing too hard → Causes bruising. Gentle pressure works better!
❌ Using dry skin → Friction = bad. Always use oil/serum.
❌ Going the wrong direction → Always move upwards & outwards (gravity fights sagging).
❌ Skipping the neck → Your face drains lymph there—don’t ignore it!
Final Thoughts: Is It Worth It?
100% yes.
-
Brighter skin in days.
-
Less puffiness (especially in the AM).
-
Natural face lift over time.
-
Helps skincare penetrate deeper.
If you’re still using a regular Gua Sha, upgrade to terahertz—it’s like switching from a flip phone to an iPhone.
Ready to try it? Drop a comment if you want before & after pics! ✨?
Why Gua Sha is Awesome (And Actually Works!)
The Amazing Terahertz Facial Gua Sha Tool
Related Article